
How To Winterize Drip Irrigation
We test and review gardening and other outdoor products based on an independent, multi-point methodology. If you use or links to purchase something, we may earn a commission. Read our disclosures.
It's gettin' cold out there. Trust me, I know. I spent the first 25 years of my life in Zone 6a.
It gets pretty dang cold where I'm from... but what does it mean? Freezing weather.
RELATED: Planting Zones In The US
And for gardeners, it means it's time to winterize your drip irrigation system.
I know, I know. It stinks.
But... it's important.
If you winterize your drip irrigation system, you'll have it for years to come.
Winterizing a Drip Irrigation System
If you are from a zone like mine, Zone 6a, then you need to winterize your drip irrigation system.
Basically, if you live anywhere that there is a concern about freezing temperatures, then you need to winterize your drip irrigation system to avoid any freeze damage.
There's only a few basic steps you need to follow to make this happen.
Step 1: Drain It
This sounds basic, and it is - you need to get the water out of the lines. Water freezes, remember, and the expansion of the ice in your drip tape or drip tubing can damage the lines.
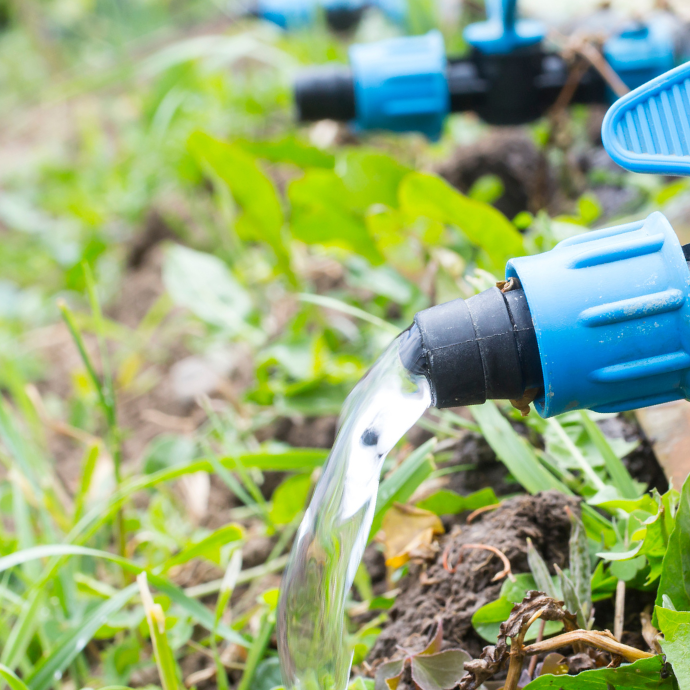
Turn off the water supply and remove your faucet/head assembly. This typically includes:
- Timers
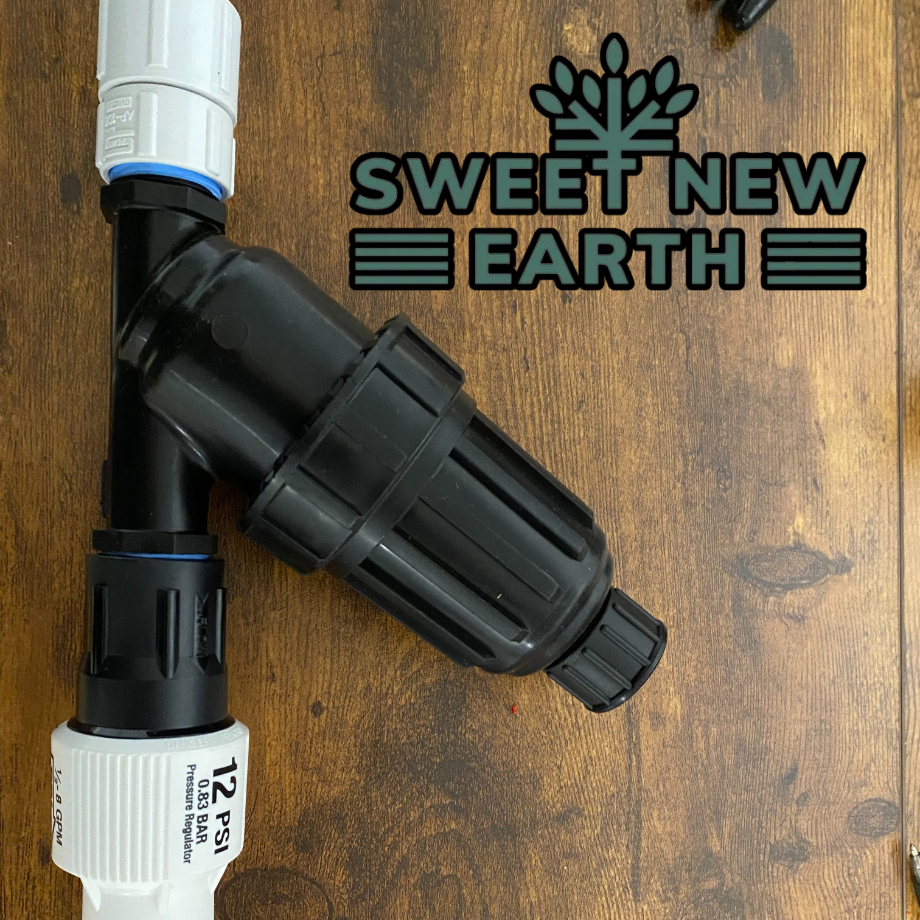
- Pressure Regulator
- Filters
- Backflow preventer
If you don't turn off the water supply, you are going to get soaked.
Anyways, remove the tubing from the pressure regulator and cover it. We cover this more in Step 3 below, but it's going to involve plugging the open ends with either a male or female plug.
RELATED: Drip Line vs Drip Tape
Drain the components of any water, and then let them dry. Bring the head assembly components indoors. They will be damaged by freezing weather.
There is no reason to leave them out to subject them to freezing. If you do, they will for sure be damaged by the freezing weather.
If you have batteries in your timer, now's a good time to take them out.
There are two ways to drain the rest of your drip irrigation system:
- Gravity
- Air Compressor
Gravity
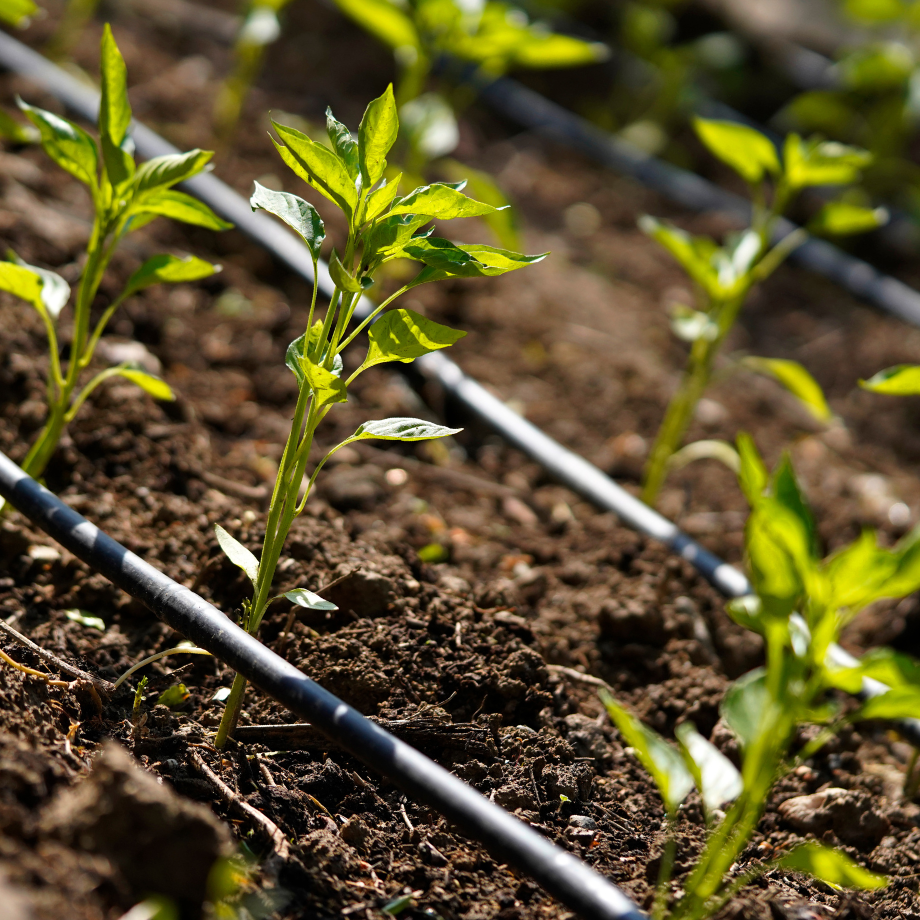
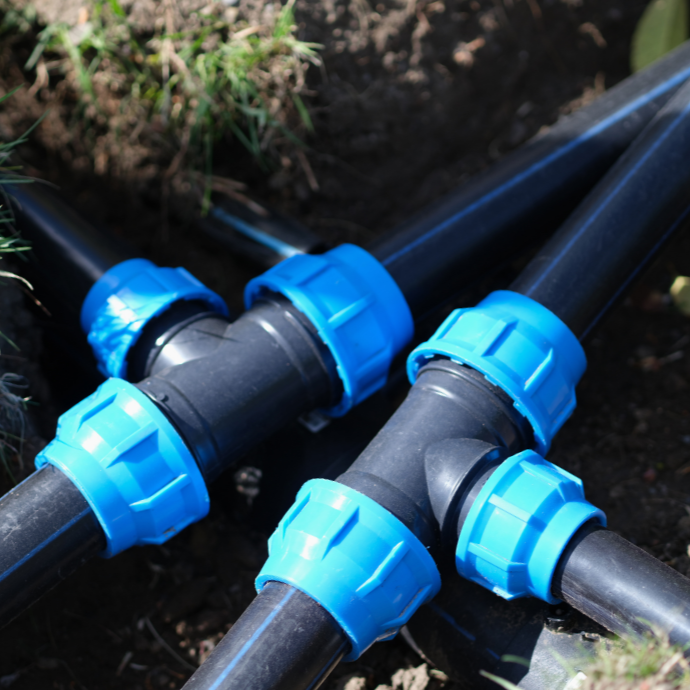
Find the lowest point in your drip irrigation system. If you need to, cut into one of your mainline tubings and branch out to a low point with another piece of tubing.
Walk the line. Open any manual valves, and take off any drip tape fittings from the drip irrigation system. Fittings can crack if you have any water left over.
Easiest way to drain your lines is to lift them out and watch the water flow out. So keep walking the lines, and lifting at low points to drain the system,
If you need assistance with draining the lines, you can look into specific types of flush valves and emitters that make it easier.
RELATED: Rain Barrel Drip Irrigation
Get as much standing water out of the lines as possible because any water left behind has the potential to damage your system.
Okay, there are certain situations where bringing in all your drip irrigation system during the winter will be a pain.
If you have lines hooked up to raised beds, or some other complicated drip system, then make sure your system can withstand winter temperatures by contacting the manufacturer.
And make sure you get out as much water as possible.
One of the best ways to do that is by investing in an air compressor.
Air Compressor
Walk to the farthest point of your drip irrigation system that has an end cap. Remove the end cap.
This is ideal because then air needs to travel throughout the system removing all the water along the way.
Set the air pressure to a low enough PSI so that you can still blow air out of the system. This usually ends up being 30 PSI or less.
Again, make sure the line has an opening because you don't want air pressure to build up inside the system. Make sure you keep an eye on the pressure regulator to avoid going over 30 PSI.
Slowly increase the pressure up to 30 - 40 PSI as needed while you drain the remaining water from the line.
Blow air through the lines for long enough to get the water out of the lines. You may need to start and stop a few times as water builds up in the drip lines.
Step 2: Seal It
Now that you got the water out, replace all the end fittings on the lines. Crack the ends loose so they can keep draining any little bit of water remaining.
Sealing the system includes the faucet assembly. You can use a plastic bag to cover the opening or plug it with either a male or female connector.
Be sure to check your connectors to make sure you use the right fittings.
RELATED: Drip Tape Fittings
Don't leave the head assembly open. I have seen bugs and other critters make a home out of drip irrigation systems.
Step 3: Bring What You Can Inside
Suppose this is a personal choice, but if you have a garage or a shed, then bring as much of the drip irrigation system inside as you can. No reason to leave it out for the winter if you don't plan on using it.
Some of the stuff is winter-proof if you manage to get all the water out of the lines but if you have freestanding water lines or hoses, then you should bring those in.
RELATED: How To Install Drip Irrigation For Raised Beds
If you have a complicated drip irrigation system that goes up and down raised beds or gardening plots, then sure, if the manufacturer says its okay, leave it outside.
As for the head assembly we talked about above, that needs to come inside. Bring it in and seal it with either a male or female plug or bag it up for the winter. This shouldn't be an issue for any hobby gardeners. Just make sure its dry.
Winterizing Drip Irrigation FAQs
Before you go...
We hope its clear now why and how you should winterize your irrigation system.
It's a simple process but it can take you an afternoon if you don't know what you are doing.
But rest assured, the afternoon spent winterizing your drip irrigation system will save you dividends next Fall.

Carl Anderson
Carl Anderson is an avid outdoorsman with a keen interest in writing about and reviewing tools. He has over 20 years of writing experience and the only time he isn't feverishly typing away at his computer is when he's outside in nature working on his projects. You can learn more about him here.
Join our community!
Join to receive guides, insights, and the latest gardening deals!