
Drip Tape Fittings Explained
Most people don't know where to begin when it comes to drip tape fittings and that's ok. We are here to explain the top six drip tape fittings you need to know.
Table of Contents
Most Important Drip Tape Fittings
Here's the Top 6 Drip Tape fittings you need to know about:
- Drip Tape Row Start
- Drip Tape Row Start Valve
- Drip Tape Row-End
- Drip Tape Coupling (Drip Tape Couplers)
- Drip Tape Connector Valve
- Drip Tape Mainline Connector
We explain each below.
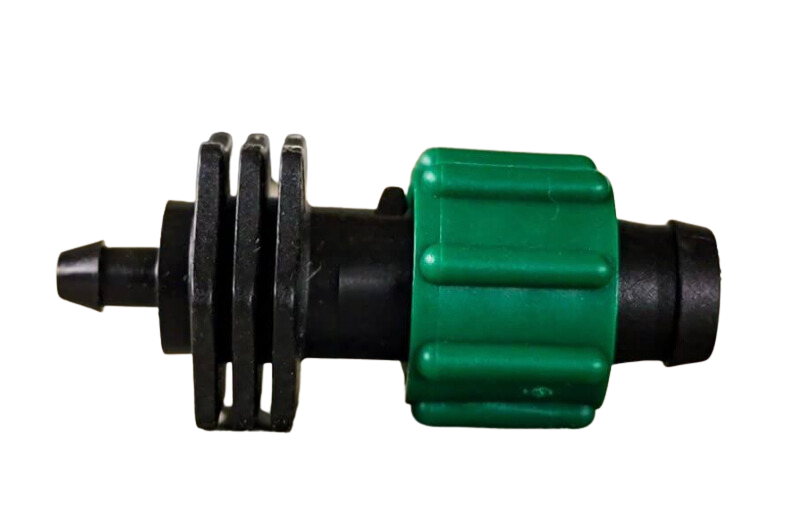
Drip Tape Row Start
Drip tape row starts are un-ironically what starts a row of drip tape. These are what connect a line of drip tape to the mainline tubing. They are what forms that connection to start the row in your drip irrigation system.
Drip Tape Row Start Valve

Drip tape row start valves are for when you have crops that require different watering patterns. You put them at the start of the drip tape so you can close the water off as needed. If you have specific watering needs, you can place one of these at the beginning of each line but if not, you can just use row starts.
Drip Tape Row-End
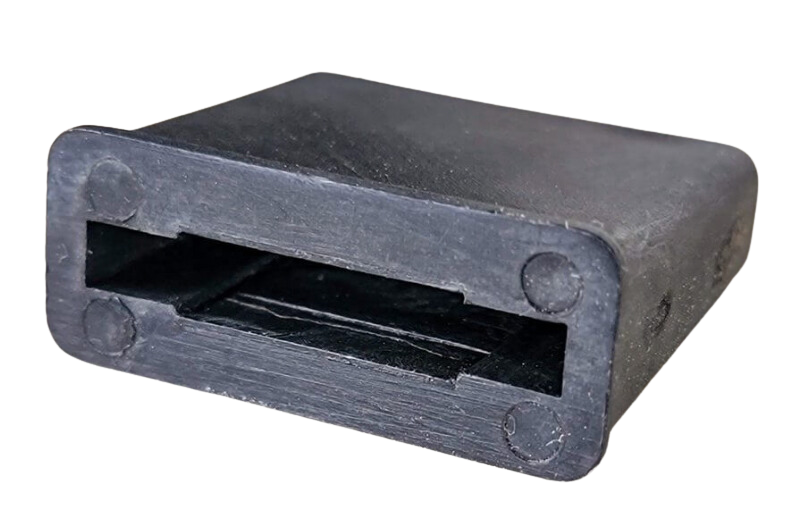
Drip tape row ends are, again, un-ironically what go at the end of a line of drip tape. Slide the drip tape row end of the end of the row of drip tape, and then fold the drip tape a few times over itself. Once its folded over, you tuck it back into the row end to close the connection.
Drip Tape Coupling (Drip Tape Couplers)
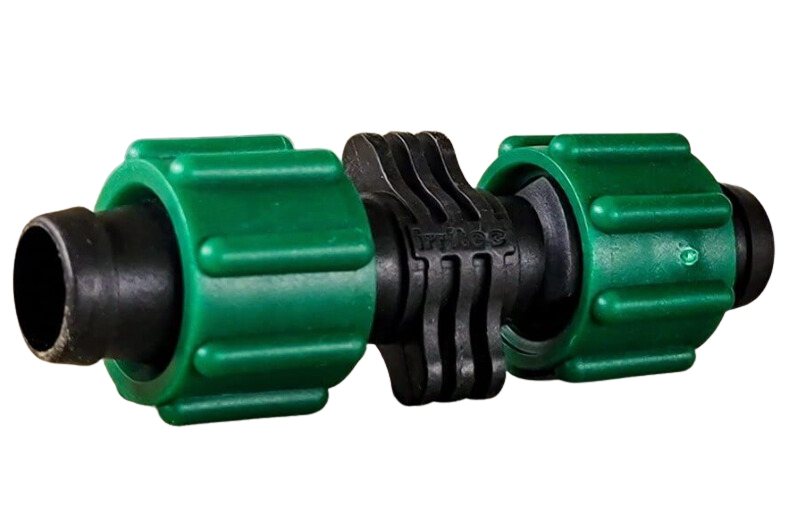
Drip tape couplers are for when you need to repair some cut or torn lines of tape. Cut off the piece of tape that is damaged and slide it over one side of the coupler. Then, take the other half of the tubing and slide it over the other side of the coupler.
Not only can you use these for damage control, but they are also for if you want to extend a piece of tape. Again, just connect two pieces of drip tape to each side and viola, you have a longer piece of drip tape.
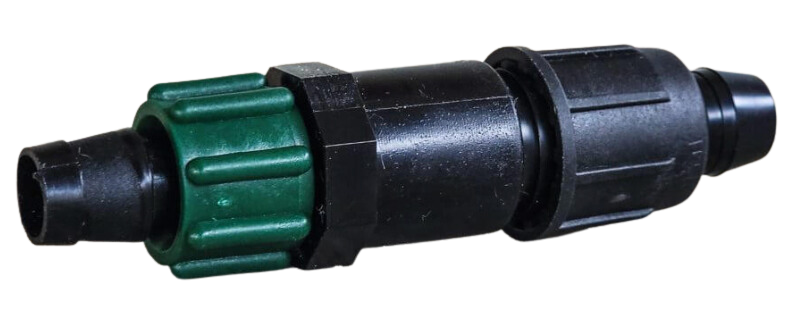
Drip Tape Connector Valve
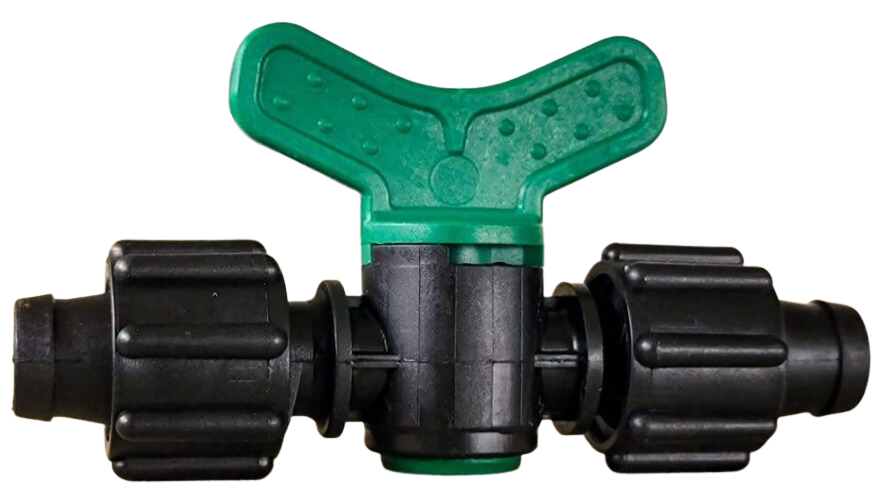
Drip tape connectors are how you can shut off the flow of water between two pieces of drip tape. Connect two sides of 5/8" tape to the connector and then turn the valve as you see fit to control the flow of water.
Drip Tape Mainline Connector
Mainline to drip connector is how you apply drip tape directly to mainline tubing. This is not to be confused with row starts, where you poke them into the mainline tubing to create a new row of drip tape.
Here, you connect the mainline tubing to one side of the connector, and drip tape to the other side of the connector. This is how you can use drip tape irrigation on a smaller scale for say, raised beds or even just one row of drip tape.
Don't Forget the Drip Tape!
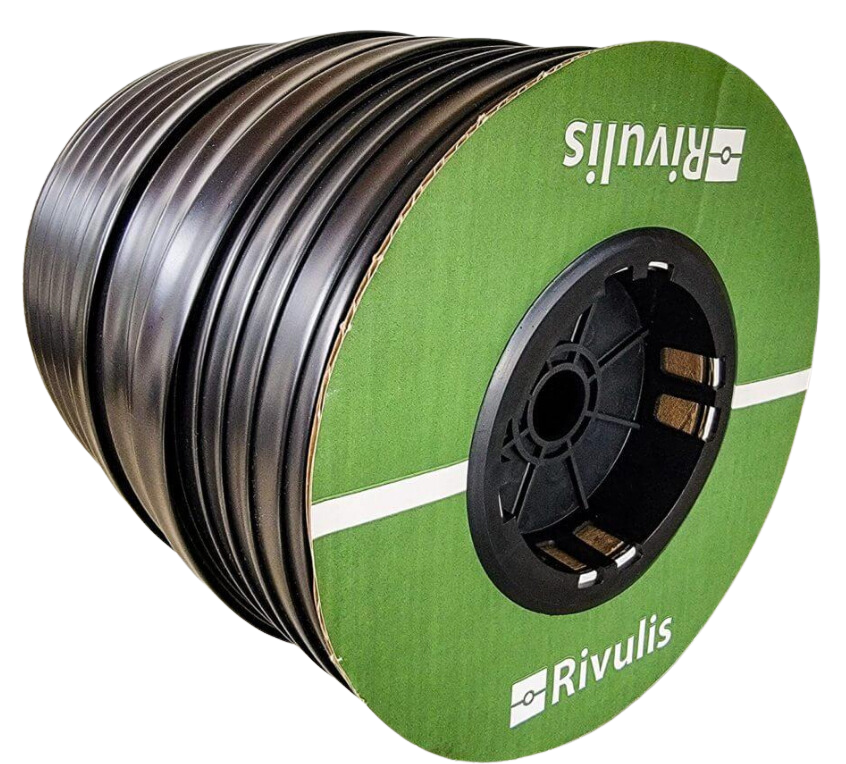
Of course, none of this would be possible without drip tape. If you need to know how to lay drip tape, be sure to check out our other guide here. But if you need to buy some, then click on the links below.
Sweet New Earth's Final Say on Drip Tape Fittings
Do you need all these connectors? No, you don't need anything but it depends on what you are trying to accomplish. If you are looking to create a standard 10 row drip irrigation system for a garden, you would need at least drip tape, mainline tubing, row starts and row ends.
There's some other things that you would need too, like mainline connectors, but that's for another article for another time. Plan your drip irrigation system ahead of time, and you'll be good to go when it comes time to start planting.

Christina Hernandez
Christina has done most of her research on environmental science but recently has changed her focus towards sustainable forestry. She has a passion for the outdoors and wants to spread that passion to the world.
Join our community!
Join to receive guides, insights, and the latest gardening deals!