
How To Lay Drip Tape
If you don't know how to lay drip tape, don't worry, it's easy. You simply lay the drip tape in straight lines creating rows across your garden. Okay, there's a little bit more to it than that... but honestly, not much. We cover everything you need to know below.
Table of Contents
Laying Drip Tape
Laying drip tape in a larger vegetable garden takes some planning. Maybe not as much as installing an entire drip irrigation system but some basic planning.
Let's say you want a plot of ten rows, each with three feet of spacing. First, you would build out the ten furrows in the plot.
If you try to use a drip layer (see below) without furrows, it isn't going to work. The tape will lay on the soil rather than be buried beneath it.
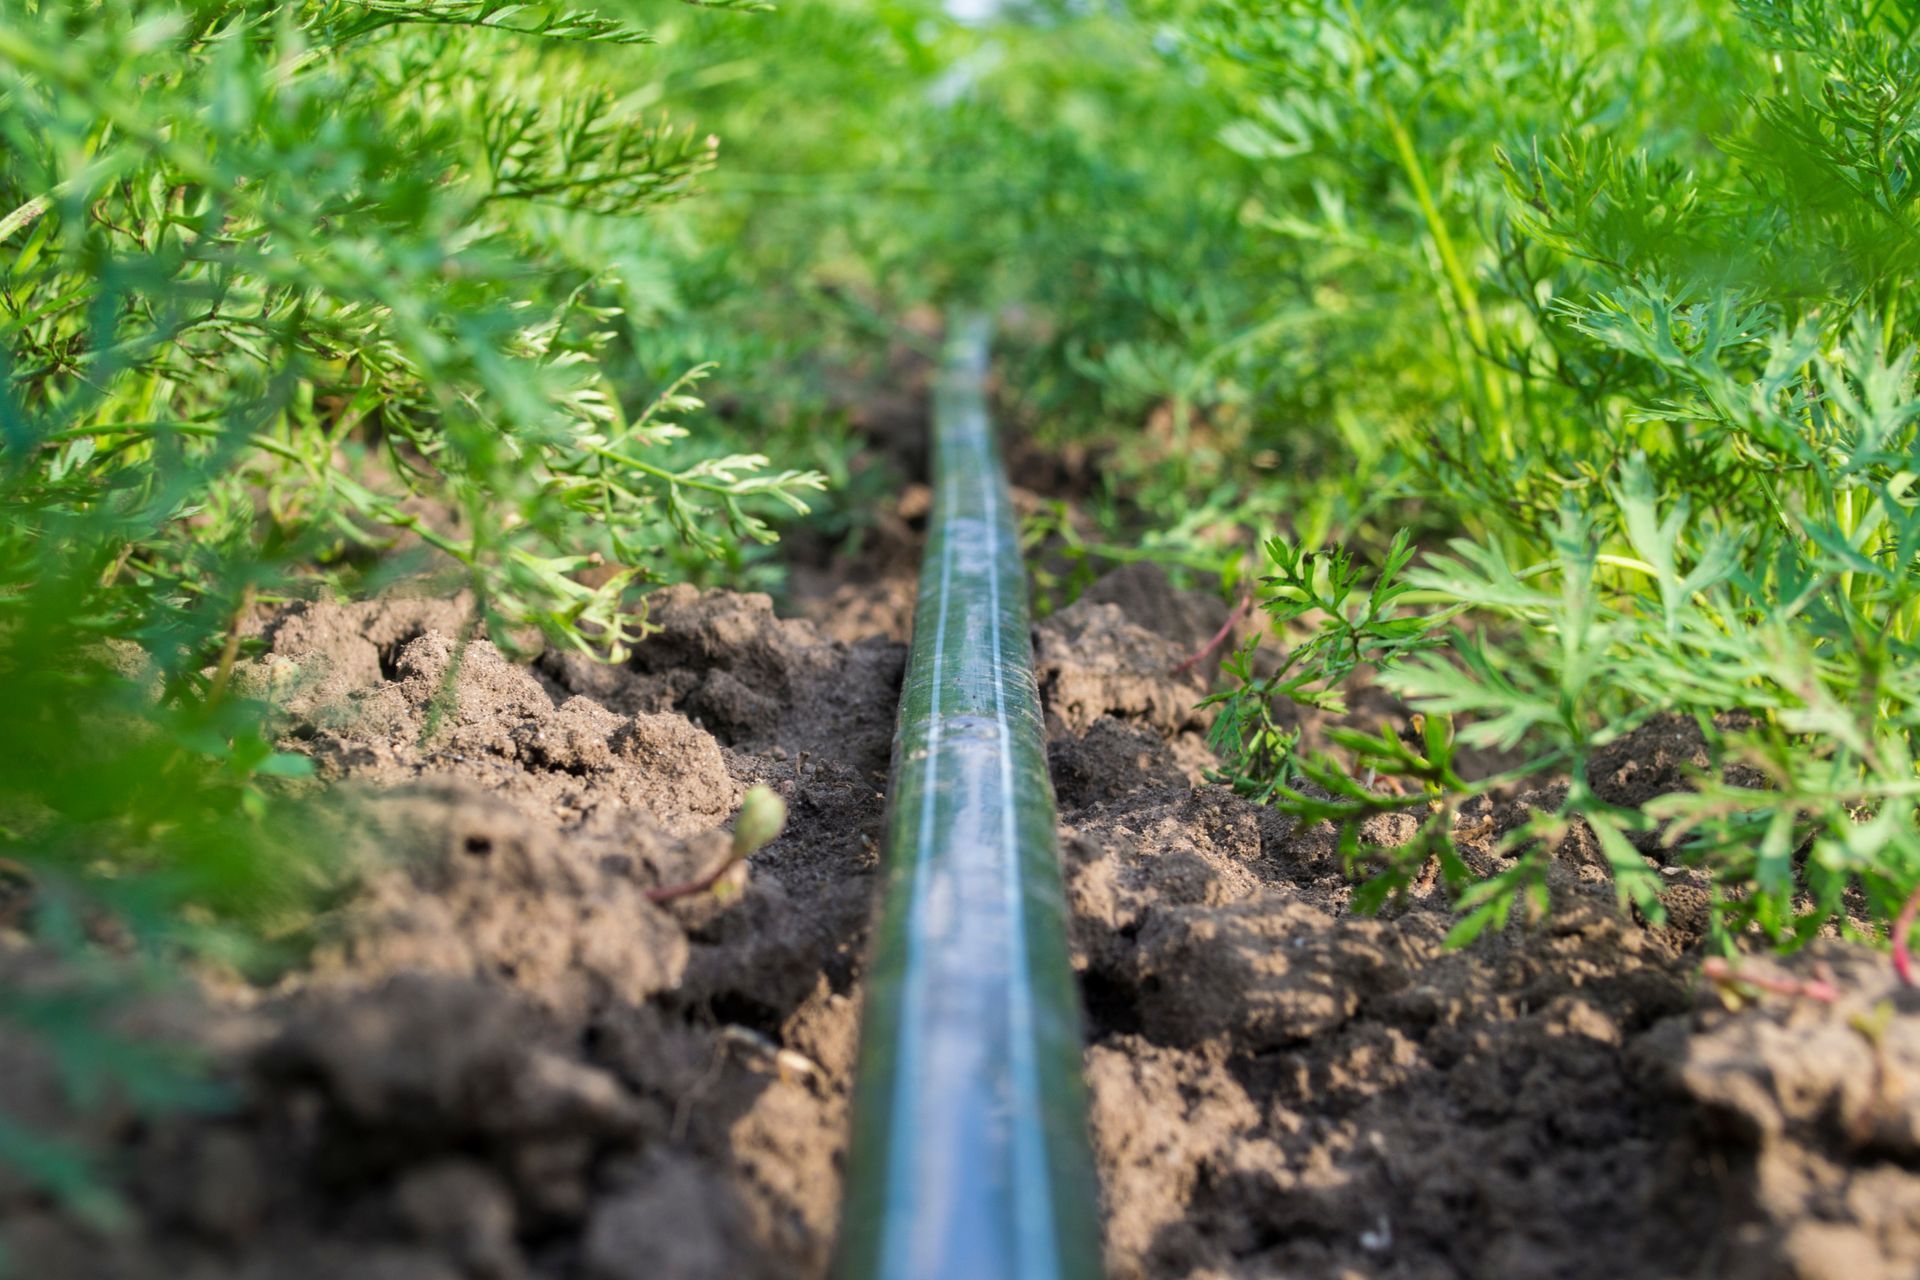
You want the drip tape to be buried to prevent quick water evaporation and avoid the need for any weird stapling. Once its buried, you can be certain the drip tape will stay in position.
Using A Drip Tape Layer
If you find laying out drip tape to be difficult, the best course of action is to get yourself a drip tape layer attachment to a hoe wheel. It's a drip tape layer attachment to a double hoe wheel, making laying drip tape quick, painless, and efficient.
We recommend making the initial investment because you can use the attachment for years. You attach the 8 mil. drip tape to the double wheel hoe and lay out the tape (please note, this drip tape layer attachment does not work with their 15 mil. drip tape).
If you don't buy it, that's fine, but laying drip tape might be more challenging, especially for larger vegetable gardens. For things like raised garden beds or potted plants, you aren't going to need a drip tape layer (unless the beds are huge). Potted plants typically will go with drip line anyways.
No Drip Tape Layer AKA The Hard Way
Without a drip tape layer, laying out drip tape becomes a two-man job. You need one person to hold the role while the other pulls out the drip tape over the furrow. If you don't have a second person, you can try to somehow secure the roll and pull the tape out.
Once it's laid out, you will have to bury the tape in the soil. It's not that much harder without a drip tape layer, but the one we said above will actually lay out the drip tape for you, and the plow will actually bury the tape as you go. Simple and effective.
If you don't have a huge plot, you probably don't need a drip tape layer. That's totally fine. Stay safe pulling out the drip tape however, it can be heavy and you don't want to hurt your back.
Connecting Drip Tape to the Mainline

Once you lay out the drip tape, it's time to connect it to the main line tubing. Your mainline tubing typically runs along the plot while the rows run across the plot perpendicular to the mainline. This is what connects to your main water supply.
The mainline tubing is sealed tubing that runs perpendicular to to the crop plot. Because it is sealed, you could lay it out on the plot and do a couple of lines of drip tape here and there depending on your energy levels or time.
To connect the drip tape, you need what is called a row start. The drip tape slides over the fat portion of the row start whereas the skinny barbed portion is what connects into the mainline. Use scissors to cut the drip tape an inch or so before the mainline.
Use scissors to cut the drip tape an inch or so before the mainline. Make sure that green nut is twisted all the way open and slide the drip tape over the fat portion of the row start. Make sure the drip tape is on their tight. Then tighten over that green nut to complete the connection.
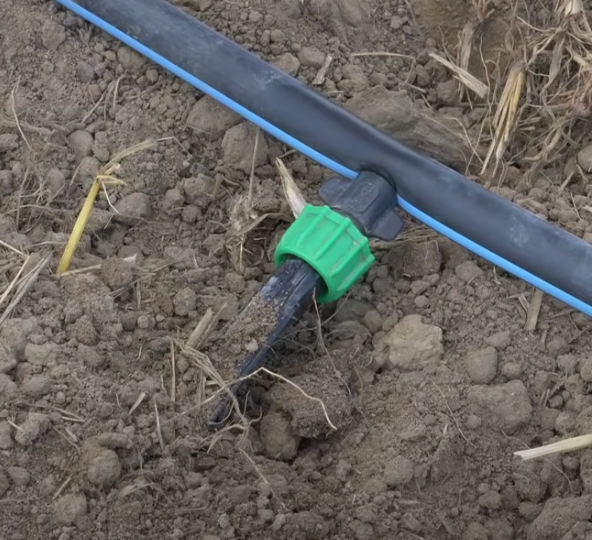
Poke a hole into the drip line with a hole punch. We recommend using a hole punch because it is easier and cleaner than using a knife or trying to make a hole with scissors. Then pop that skinny barb into the drip line to complete the connection to the mainline.
Flushing the Mainline
If you are concerned about dirt or grime being in the drip tape, then now is the time to flush it while the lines are still open. Run some water through the system for however long you think it needs and then proceed to closing off the lines.
Closing Off the Drip Tape

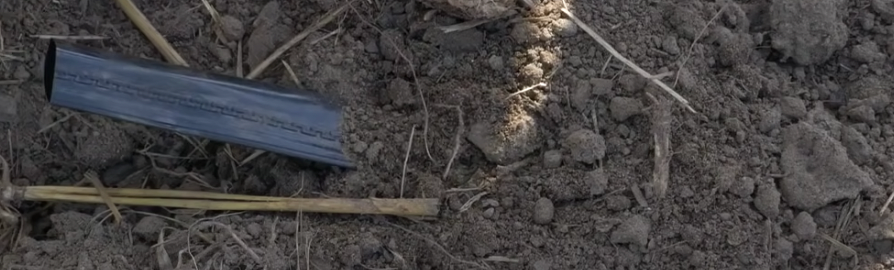
Don't forget, you need to close off the other side of the drip tape or your water is going to just flow right out of there. Best way to do it, is to grab yourself some row ends and seal them off.
Slip the row end over the open line. Fold the end of the tubing over twice on itself, and then snug it into that row end for a nice closed off connection.
Sweet New Earth's Final Say on Laying Drip Tape
We hoped you like this basic rundown of how to lay drip tape on your garden. We really wanted to keep it specific to the task at hand, so we'll cover connecting the mainline tubing in another article.
Not only that, but we have more drip irrigation guides coming out soon that will cover the different fittings, tubings and strategies you can use to make an excellent drip irrigation system.
Drip tape is just one part of a drip irrigation system. There so much more to know about for the next growing season. Get out there, get yourself a drip irrigation system and begin your journey to healthier plants.
FAQs

Christina Hernandez
Christina has done most of her research on environmental science but recently has changed her focus towards sustainable forestry. She has a passion for the outdoors and wants to spread that passion to the world.
Join our community!
Join to receive guides, insights, and the latest gardening deals!