
How To Install Drip Irrigation: The Complete Guide
In our last article, we talked about drip irrigation in some pretty general terms. Today, we are gunna go over how to install drip irrigation in your garden. If you keep it close to the surface, or above ground, this is a relatively easy endeavor (for the hobby gardener). If you plan on burying them lines multiple feet, it can be much more difficult. Read on.
Just to recap - drip irrigation is an efficient and cost-effective way to water your garden. Since the method involves watering plants directly at the root level, it allows for more precise water application.
Additionally, the use of a timer for controlling your irrigation system can help you save water and money in the long run. But how do you install a drip irrigation system in your garden? Which equipment do you need? You'll find the answers in this guide.
Did you know? By 2025, the micro irrigation system market is expected to be valued at $1.43 billion in Latin America, a 120% increase compared to $640 million in 2020.
Table of Contents
Installing Drip Irrigation
Most drip irrigation systems have tubing with small holes that emit water directly to the plant's roots. Unlike sprinklers or other irrigation systems, drip irrigation is much more direct to the plant's kind of watering.
These systems can be hooked up to your existing hose, a pressure regulator, and a timer and run extremely efficiently.
Components
The components of a drip irrigation system include:
- Mainline Tubing: It is usually made of polyethylene tubing and carries water from the main water source to the emitter lines.
- Pressure Regulators: These are used to reduce water pressure and protect your system from high-pressure damage.
- Emitters: These are small devices attached to the mainline tubing that dispense water to the plant's roots.
- Soaker Dripline: Since this line is designed to release water slowly over a long period, it's great for watering large areas.
- Filters: Every drip irrigation system should include a filter to keep debris and other particles out of the water.
- Elbow Fittings: These help connect different system components and change its direction. There are tons of different types of drip fittings.
- End Closures: These are used to cap off the ends of the mainline tubing.
- Backflow Preventers: As their name implies, these devices help prevent water from flowing back into your main water supply.
- Timers: A timer can be set to turn on and off at specific intervals, allowing you to automate your irrigation system.
- Valves: Valves are used to shut off the water flow when necessary or drain the system for maintenance.
- Pressure Gauges: These devices measure the pressure in your system and help you determine if it's too high or low.
Once you've got all the components, you're ready to begin the installation. You can buy these all separately or in a nice kitted drip irrigation system.
Lay Out The Drip Irrigation Tubing
Use a 1/2-inch. or larger mainline tubing to lay out your system. Connect the end of each line with a fitting and glue it in place. Use a meter or regulator to measure the water pressure for more reliable water flow.
Make sure the tubing is staked every five or six feet. If you don't want the drip irrigation system to show, you can cover it with mulch. For instance, if you're using PVC tubing, put it in the ground and cover it with soil.
Once the main line is laid out, branch off with 1/4-in. or smaller tubing or drip tape. This will be used to distribute the water in different directions to where the plants are located.
End each line with a fitting and plugged with a cap. Check the pressure at each end, so you can adjust the water flow according to your needs.
A pro tip is to lay the tubing in the sun or soak it in warm water. That will soften it and make it easier to work with. If you need to cut the tubing at any place, use pruning shears or scissors. These will provide a clean cut and won't cause any damage.
If you need to run the tubing around obstacles, use elbows or couplings to make the corners. It's important to make sure your system is leak-free before turning on the water supply.
T-fittings are great at making branches, while elbows help make 90-degree bends. Do note that backflow prevention might be required in some areas. Therefore, you should check with your local code requirements before installing a drip irrigation system.
Finally, use clamps and straps to secure the tubing in place. Make sure everything is tight, so the pressure doesn't drop. You don't want a leaky system, so check all the connections and adjust if needed.
Connecting Drip Tubing To Water Supply
Once the tubing is properly laid out, it's time to connect the system to a water source. Commonly, this is done through a hose faucet. Use a hose adapter to connect the tubing and faucet, then turn on the water supply.
For additional protection in colder climates, install a backflow preventer. It helps protect your water from contamination by ensuring it only goes one way, from the faucet to the tubing.
If you don't have a faucet available, use a pump instead. These are best suited if you're using an automated system, as they will provide adequate water pressure.
Additionally, you can connect it directly to a rain barrel for rain barrel drip irrigation or another type of water tank.
Securing Drip Irrigation Tubing
Use stakes and clamps to secure the tubing in place, ensuring it won't move. Doing this is especially important if you live in a windy area or near a body of water. Take your time and make sure that the tubing is secure in its place, as it will help ensure proper water flow and pressure throughout the system.
If you are using too much pressure, use a pressure regulator to prevent over-pressurization. Players or pressure-compensating (PC) drippers may also be used to maintain a steady flow of water.

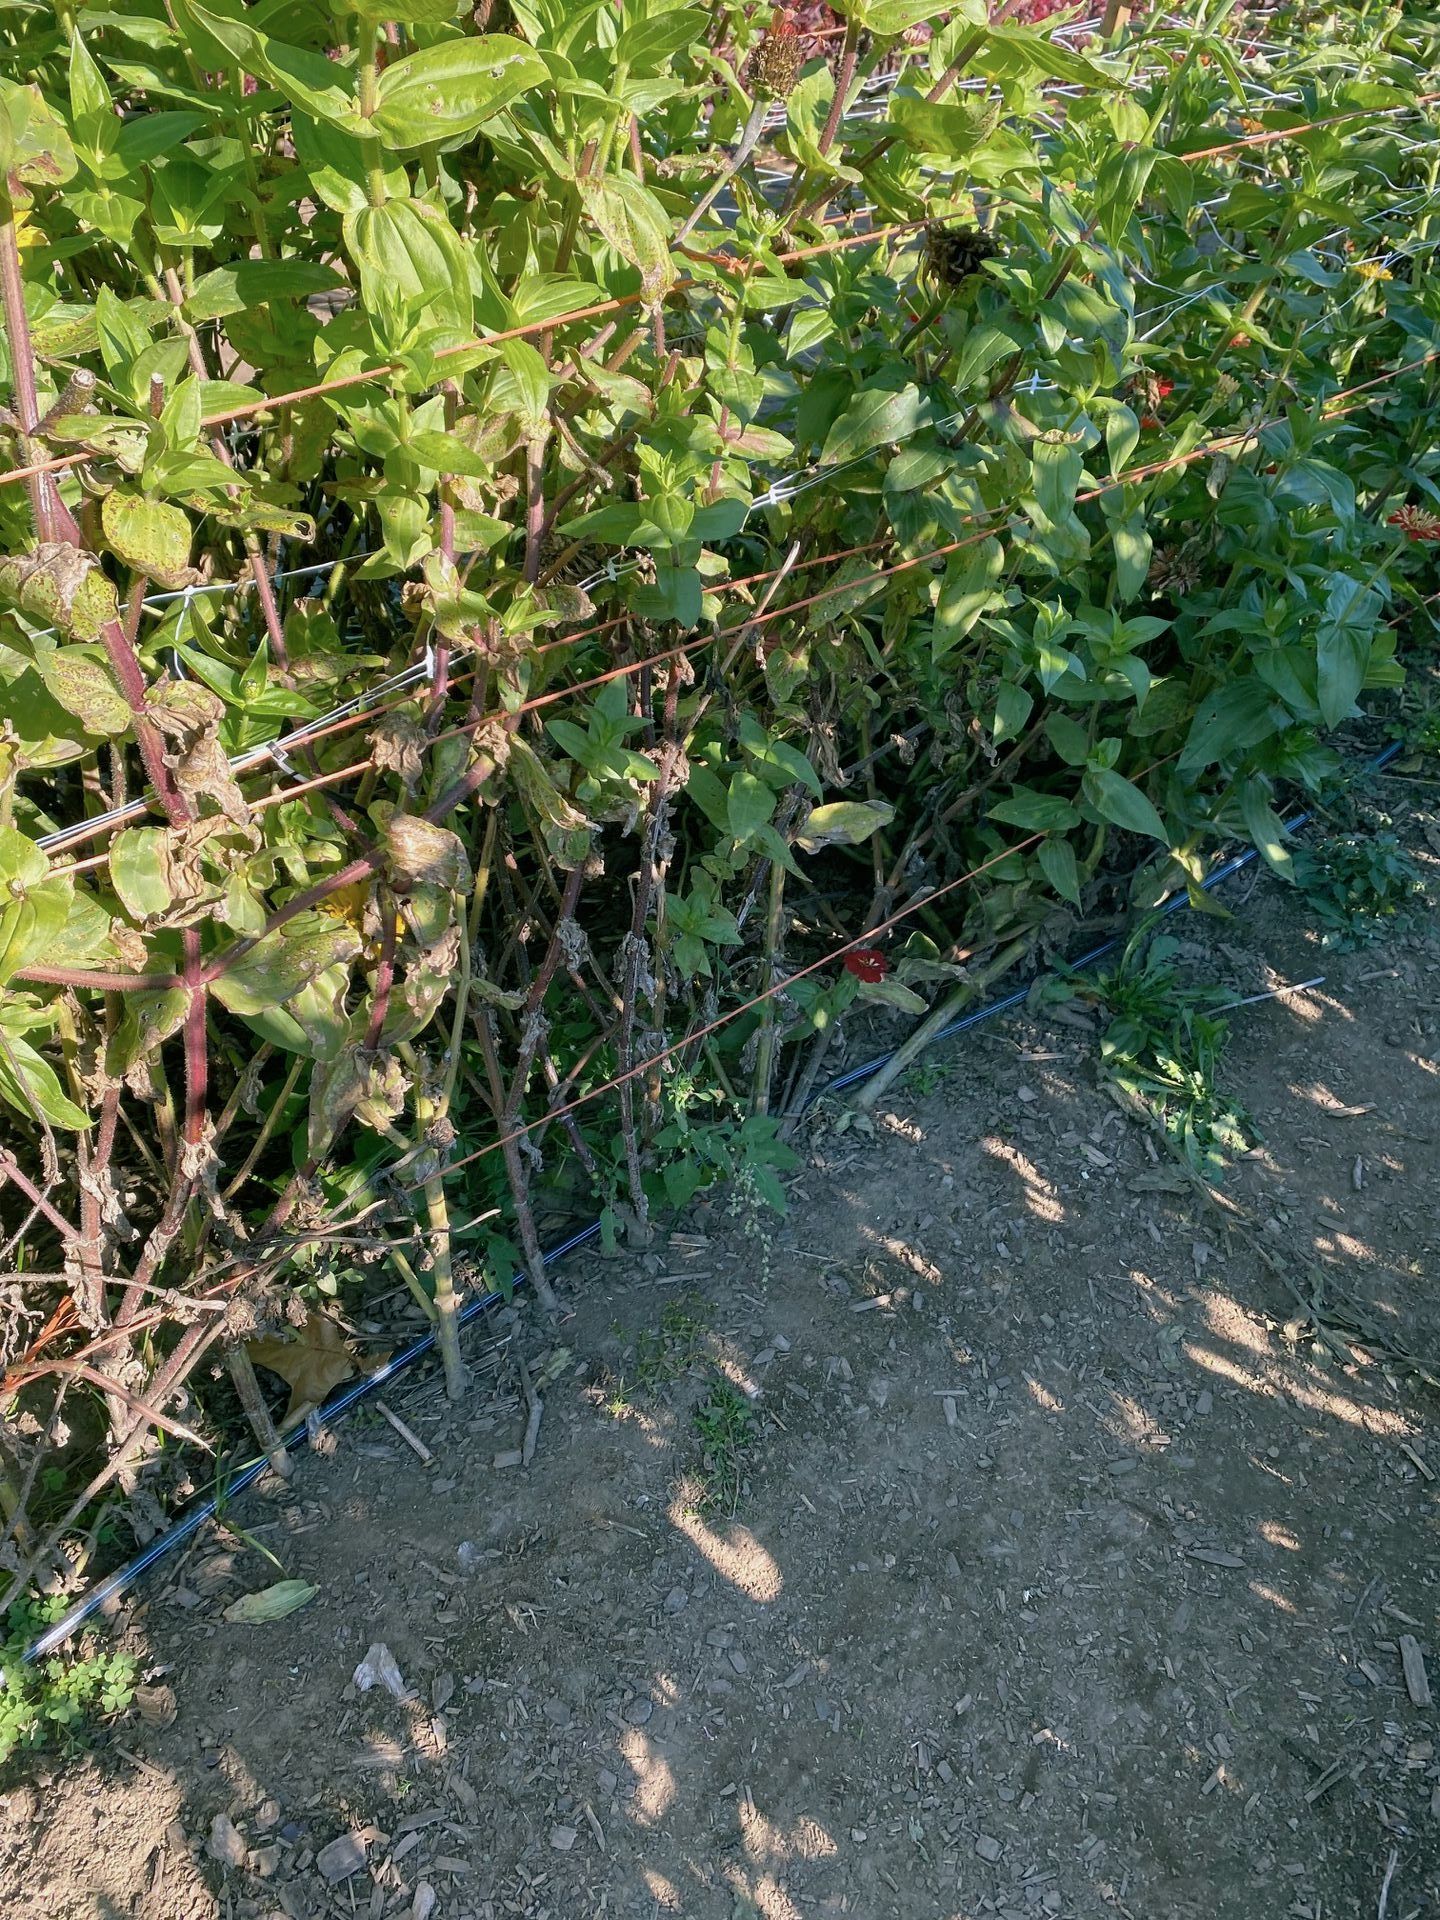
Lay The Tubing Properly Around the Plants or Trees
When installing drip tubing in your garden, you should lay the tubing properly around trees or plants. Since these are the areas that will be receiving the most water, you want to make sure they are laid properly.
Attach the tubing to the hose bib in a way that the bib reaches the plant beds. Install drip emitters around the tubing, facing the plants or trees. The placement will ensure the water is evenly distributed throughout the area and that each plant has access to water.
Use a gooseneck fitting to attach the tubing and emitter to the hose bib to create a secure, leak-proof connection that won't allow water to escape. You can also use a T-fitting or elbow fitting if needed, depending on the layout of your garden and plant beds.
RELATED: Drip Irrigation for Potted Plants
Create loops of ¼-inch tubing around shrubs and trees. Pierce the ½-inch tubing with a hole punch wherever you want the loop to start. Insert the ¼-inch tubing into the hole and secure it with a compression fitting.
In addition, use a stake or anchor to keep the tubing in place and secure around the plants or trees. When laying tubing around trees, create a lasso shape around their trucks.
The loop should be large enough to allow the tree to grow but small enough that it won't interfere with the irrigation system. Finally, attach the tubing and emitter to the stake or anchor with a clamp.
Positioning the Sprayers
Use a hole punch to pierce the ½-inch tubing and install a small straight connector. Attach the unperforated ¼-inch tubing to the straight connector and position the spray so that it is facing the plants or trees.
For large areas, you can use a sprayer with more than one nozzle. You can also use micro sprayers if the vegetation is too dense.
Likewise, you can branch out using the following:
- Foggers
- Single emitters
- Sprinklers
- Distribution nozzles
You can also use adjustable or programmable sprinkler emitters that will allow you to control the amount of water that is released in each area.
Crimp The Drip Tubing End
After you have laid the tubing and installed the emitters, you should crimp the end of the tubing. Turn the water on in the drip tubing so that the dirt can flush out.
Then, turn the water supply off and crimp the tubing end using a ½-inch end clamp. Fold the end of the tubing and slide the clamp over it, then tighten the clamp with a pair of pliers.
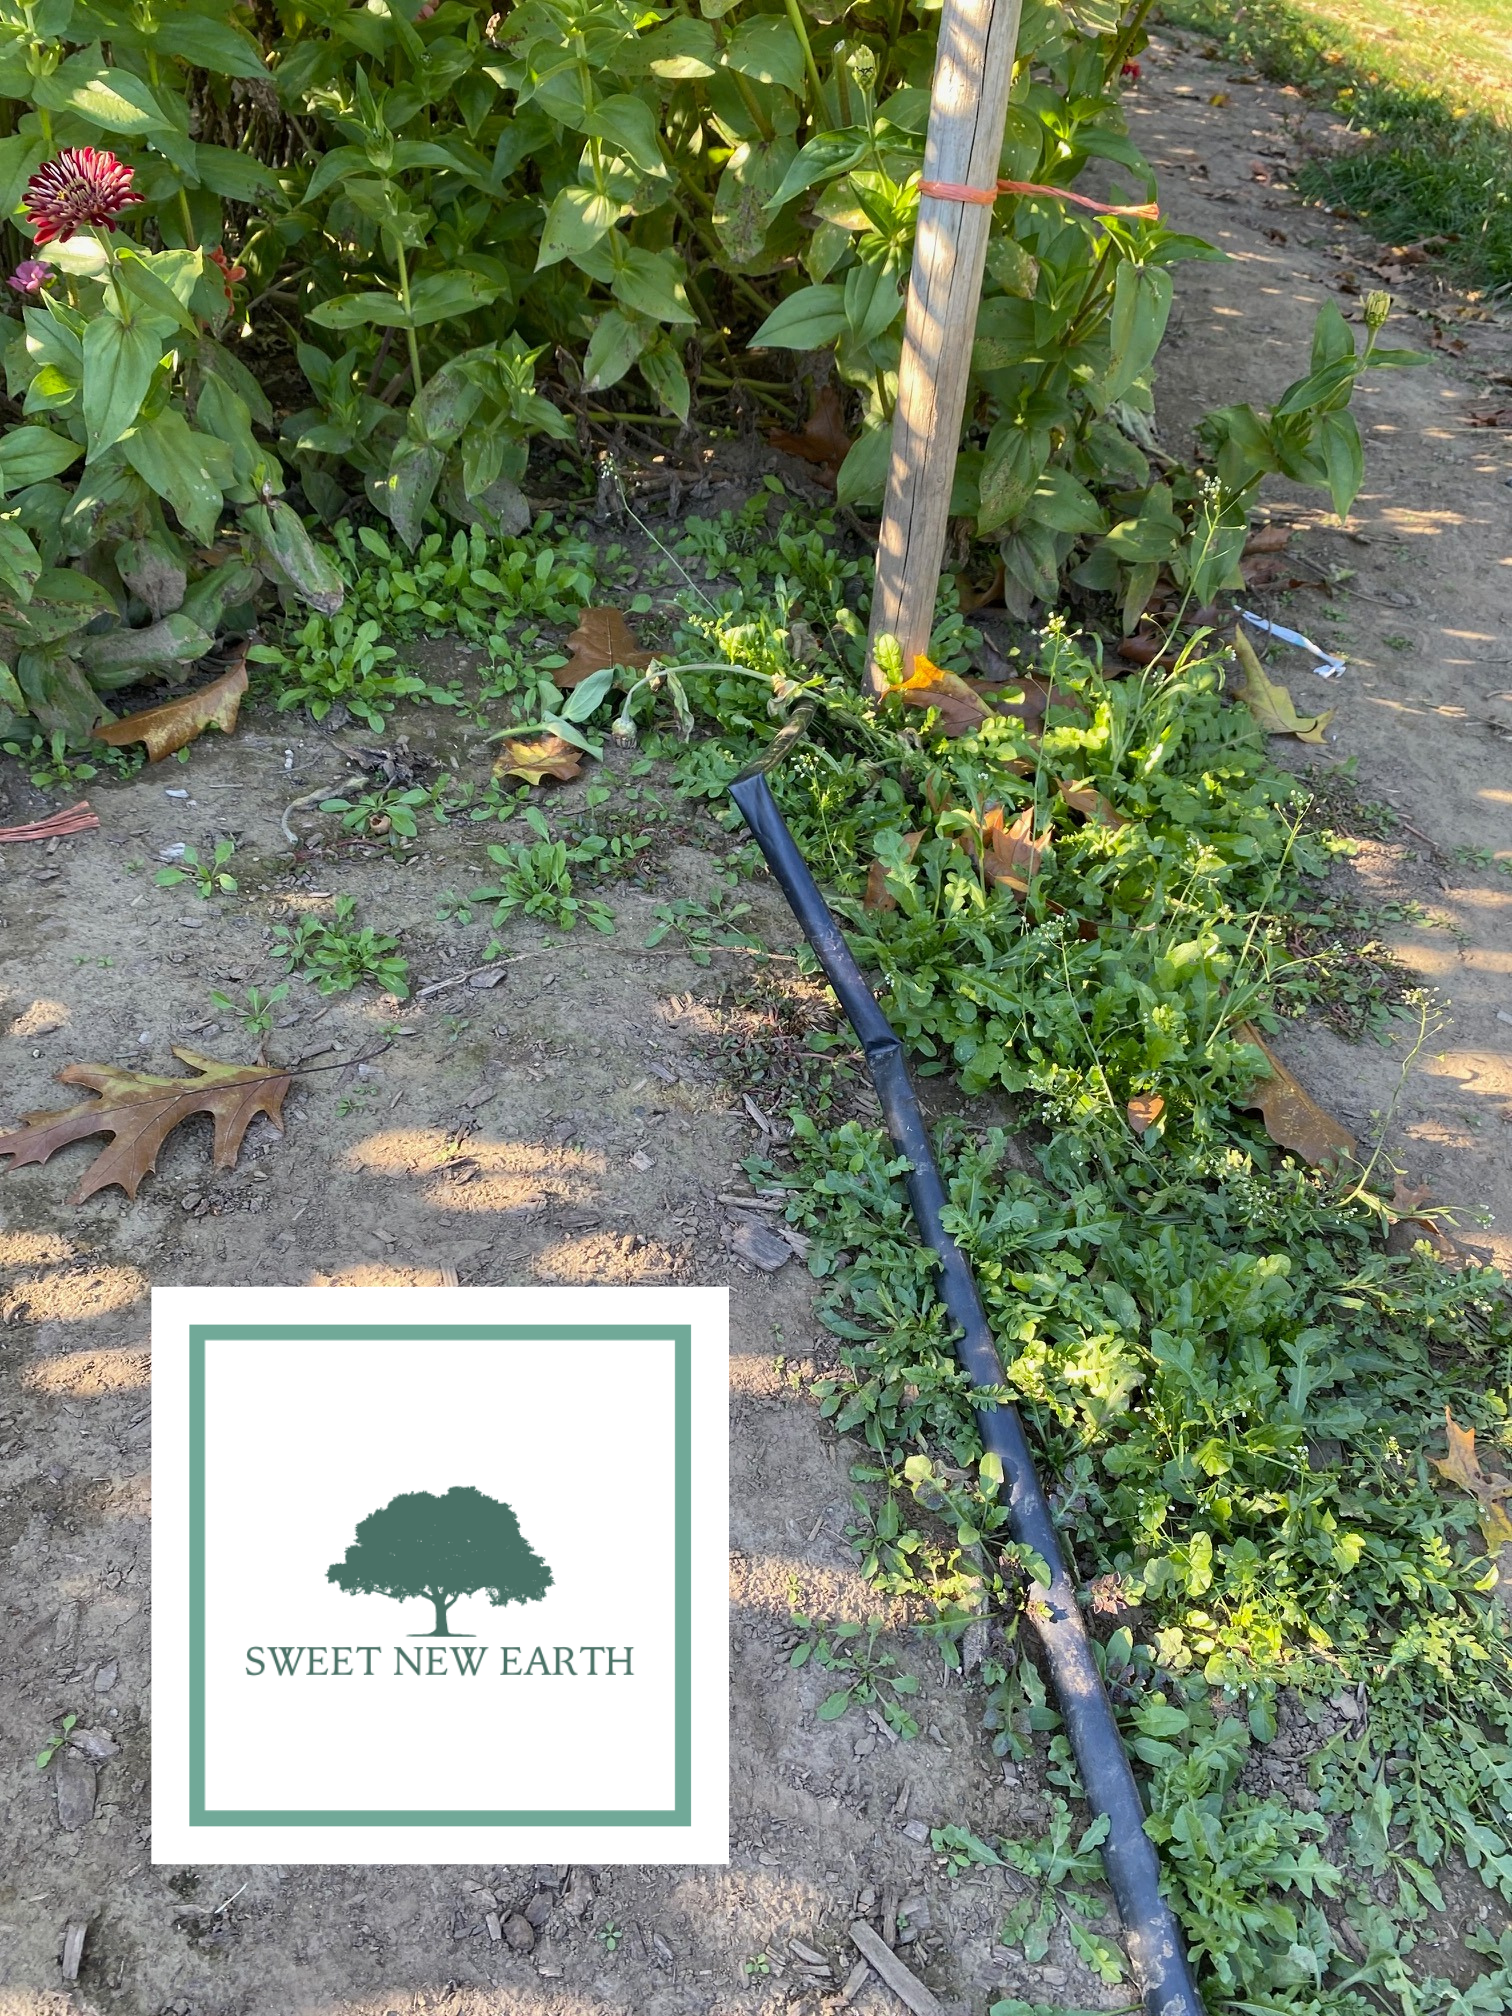
Covering The Drip Tubing
Clean the area around the tubing and spread mulch over it to help keep the tubing in place. The mulch also acts as insulation and helps keep the temperature of the tubing even. Two inches of mulch should be sufficient for this.
It will help reduce any damage that could occur from extreme temperatures and make the system last longer. Make sure you check for leaks and make any necessary adjustments before covering the tubing.
Now You Know How To Install Drip Irrigation
Now that you know how to install drip irrigation systems, you can start using them to save water and reduce maintenance costs for your garden or landscaping. Laying the tubing is the tricky part.
Once you get it right, you can enjoy the convenience of automated watering and the peace of mind of knowing you're conserving water. You can also use the drip line to water trees in your garden. Make sure you know the difference between drip line vs drip tape.
Finally, cover the drip tubing with mulch or soil to keep it from getting damaged or clogged. With a little bit of work, you can get your drip irrigation system up and running in no time.
Did you know? According to a study, 85% of rainwater barrels have 50 to 100 gallons capacity, while 8% can store over 100 gallons.
How To Install Drip Irrigation FAQs
Thank you for stopping. This is the second installment of our drip irrigation series. Follow along to get the best drip irrigation system advice and information.

Carl Anderson
Carl Anderson is an avid outdoorsman with a keen interest in writing about and reviewing tools. He has over 20 years of writing experience and the only time he isn't feverishly typing away at his computer is when he's outside in nature working on his projects. You can learn more about him here.
Join our community!
Join to receive guides, insights, and the latest gardening deals!