
How To Install Rain Barrel Drip Irrigation
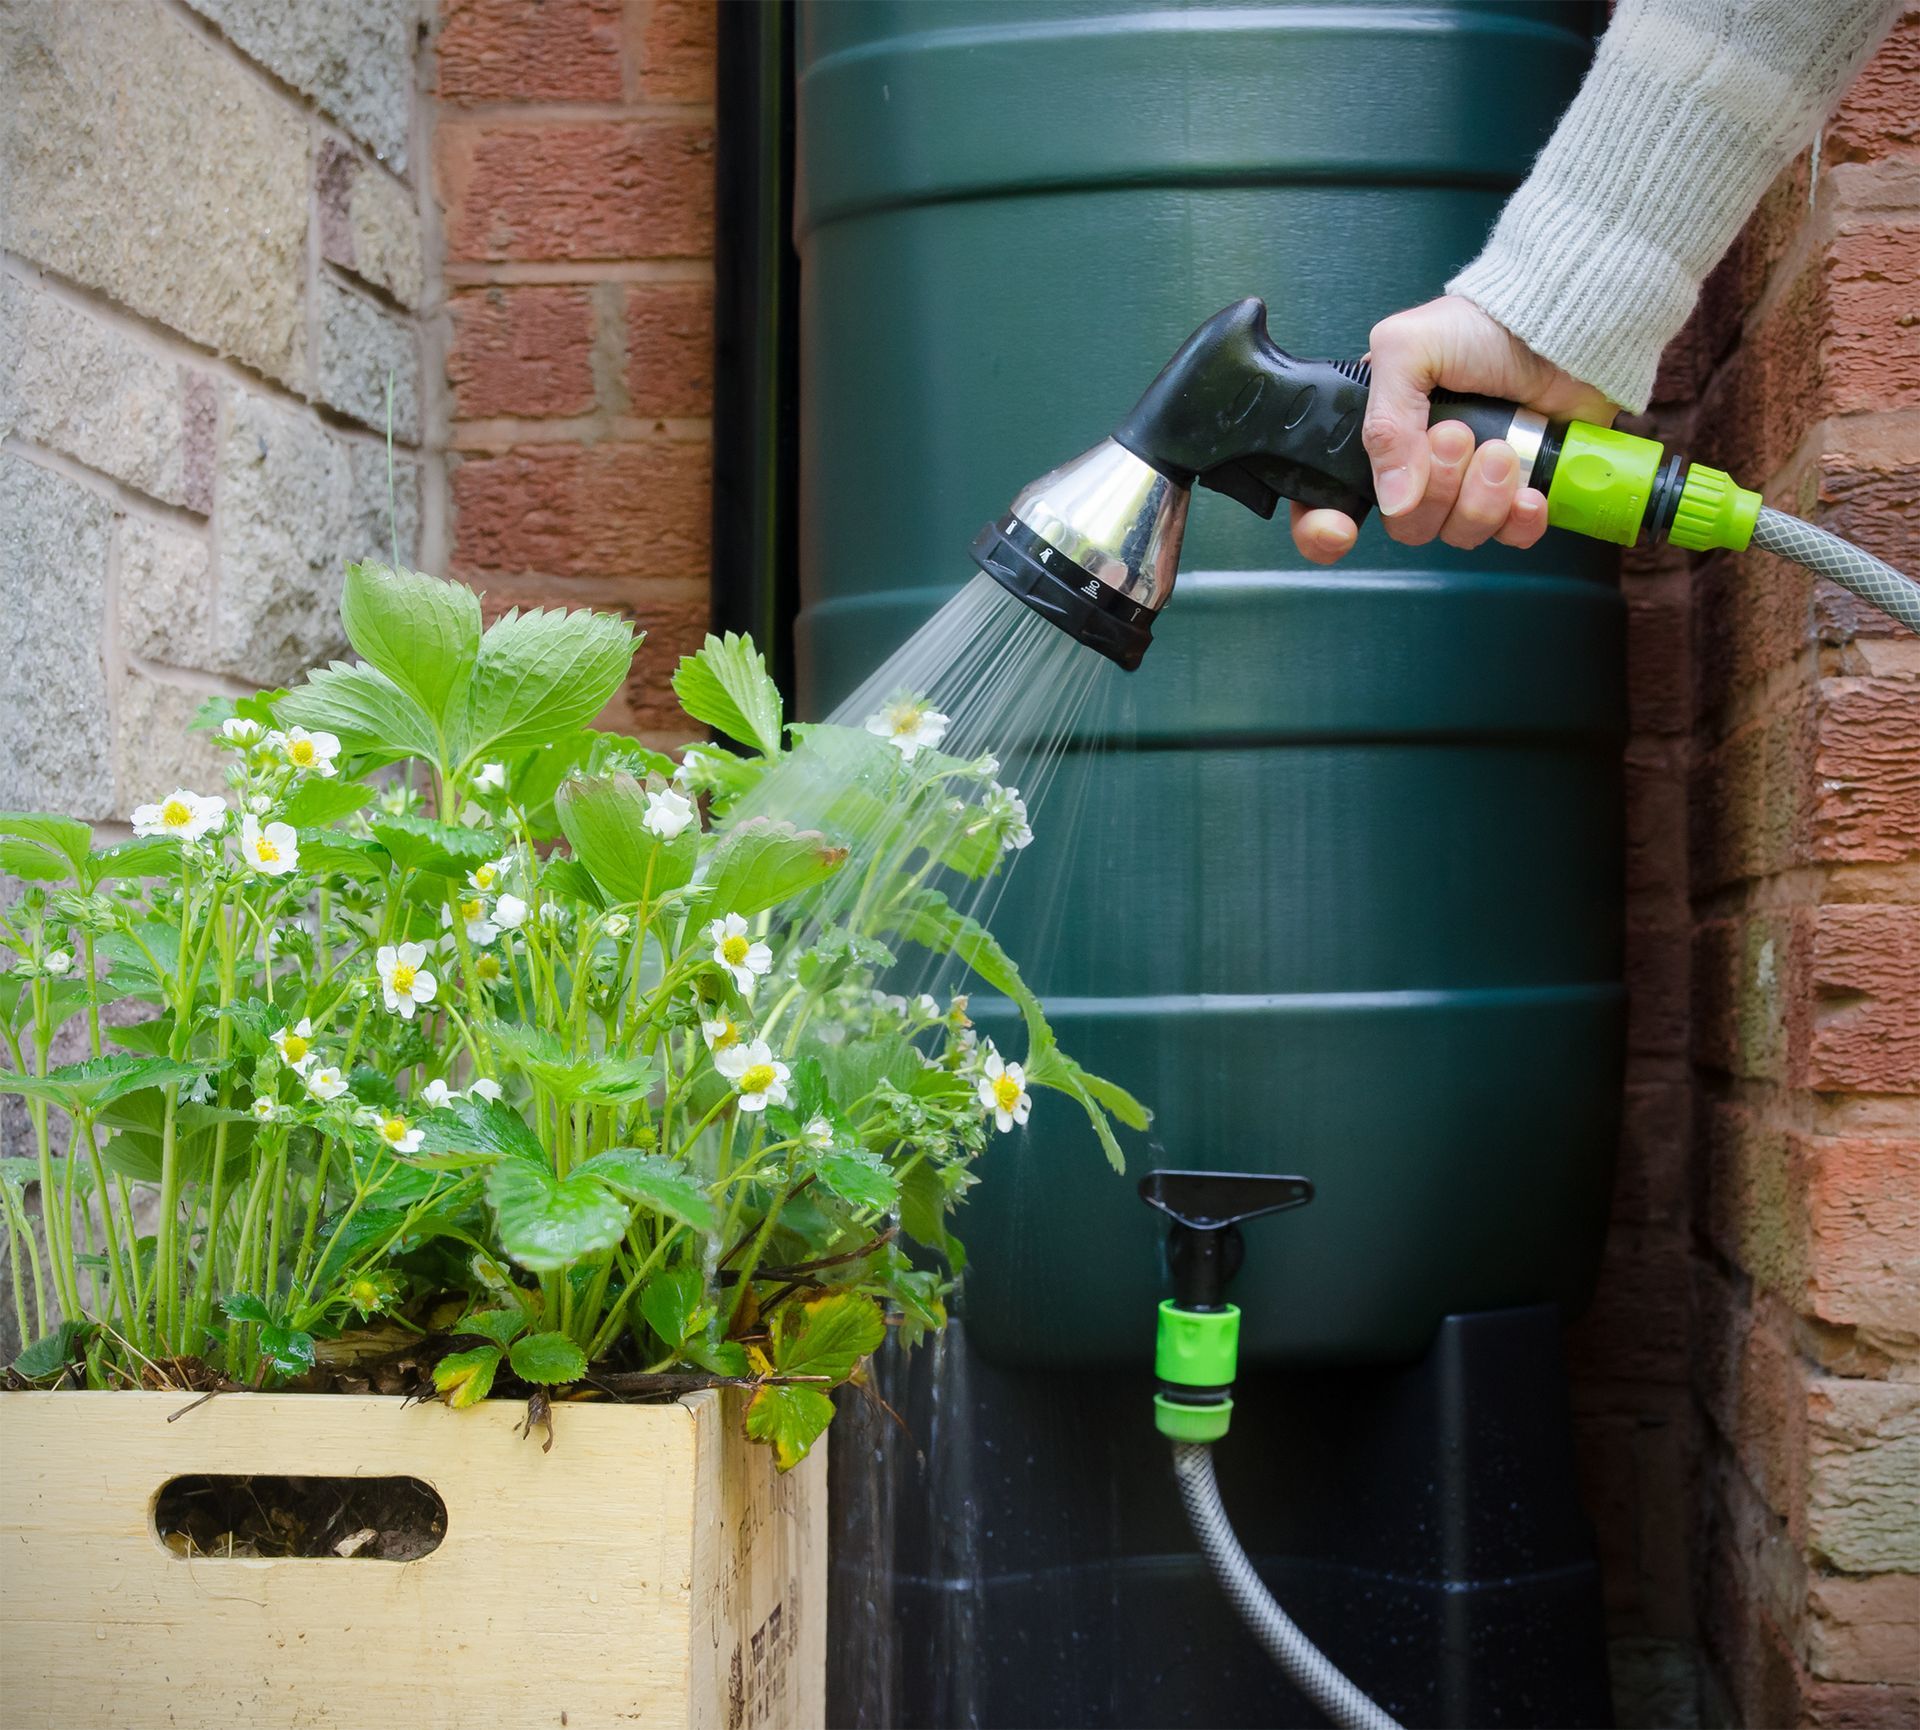
Rain barrel irrigation, or gravity irrigation, can be a frustrating yet rewarding way to water your garden. It's frustrating because it takes some tinkering to perfect it, but it's rewarding because you feel like you are using Mother Nature to water your plants. We explain this nuanced drip irrigation system below.
Table of Contents
Rain Barrel Watering: Everything You Need To Know About Gravity Fed Drip Irrigation
Credit: Kermit
Rain barrel watering is essentially no different from any other drip system. Of course, the main difference is the water supply - one is sourced from your water supply, and the other is sourced from Mother Nature. From there, the biggest difference is the system's pressure. Most of use are used to high pressure from the house, but with gravity irrigation, the pressure will be almost zero.
Components of a Gravity Irrigation System
- 50-gallon barrel
- Zero Pressure Timer
- Filter
- Hose by tubing adapter
- Tubing cutter
- 1/2" Mainline tubing
- 1/4" Micro Tubing
- 5/8th roll Drip Tape
- Fittings
- Optional (Irrigation Pump)
Planning Out The System
We've covered planning an irrigation system in our drip irrigation for raised beds post. The process is almost exactly the same, so if you want to read it, go ahead and go to that page. It's essential you plan out your system so you know the exact length of tubing you need and the exact number of fittings you'll need.
The main differences here are:
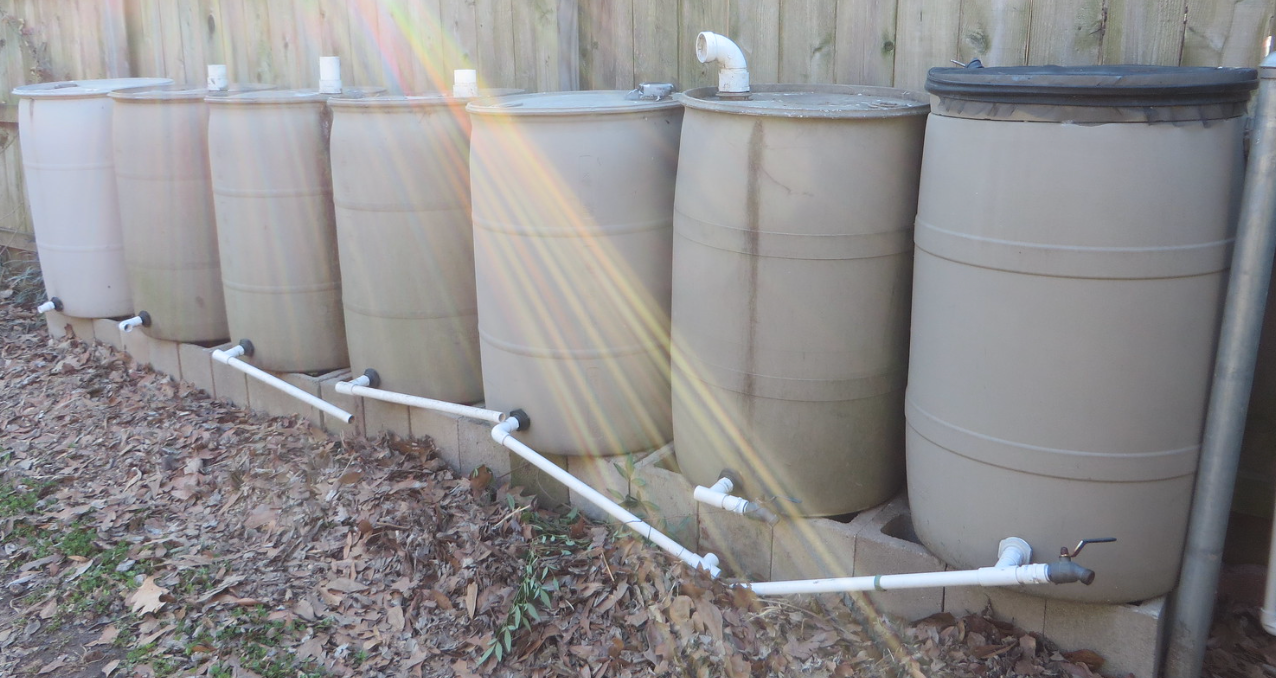
- Buying a rain barrel
- Elevating the rain barrel
Since the barrel runs on the pressure of the water in the barrel, the higher you get it, the more pressure it will be able to put on the system (but it isn't much).
Try to get the rain barrel at least five feet above the ground. You might need to buy or build a stand to do this.
Head Assembly
The three things you'll need for a rain barrel irrigation:
- Timer
- Filter
- Hose by tubing adapter
First, attach the timer, then the filter, and finally the hose by tubing adapter. Finger strength is all you need - there should be no need for tools at this point.
Mainline Tubing
Hook the mainline tubing up to the hose by tubing adapter. This can be tricky because the tubing will probably be fresh from the factory. If so, dunk it in hot water and muscle it over the adapter. Tighten down the locking nut over the tubing to avoid leaks.
Lay Mainline Tubing To Your Garden
It would be impossible for us to explain how to run your mainline tubing from here. Each person will have a different garden.
For example, say you wanted to run to two garden beds. You can run some tubing down to a T. From there you would run more mainline tubing from both sides of the T. If you need to turn 90 degrees, then you would use an elbow fitting.
Run the tubing all the way over to the beds. You'll need another elbow at the base of the bed to get tubing up into the bed, and then one more elbow to be able to run the mainline tubing across the top of the bed.
Header Rows
Header rows are just mainline tubing at the head of the garden bed. Once you have the elbows in place, you run another piece of tubing along the head (top) of the bed. Cap off the head of the row with an end cap. Clamp the tubing to the top of the bed.
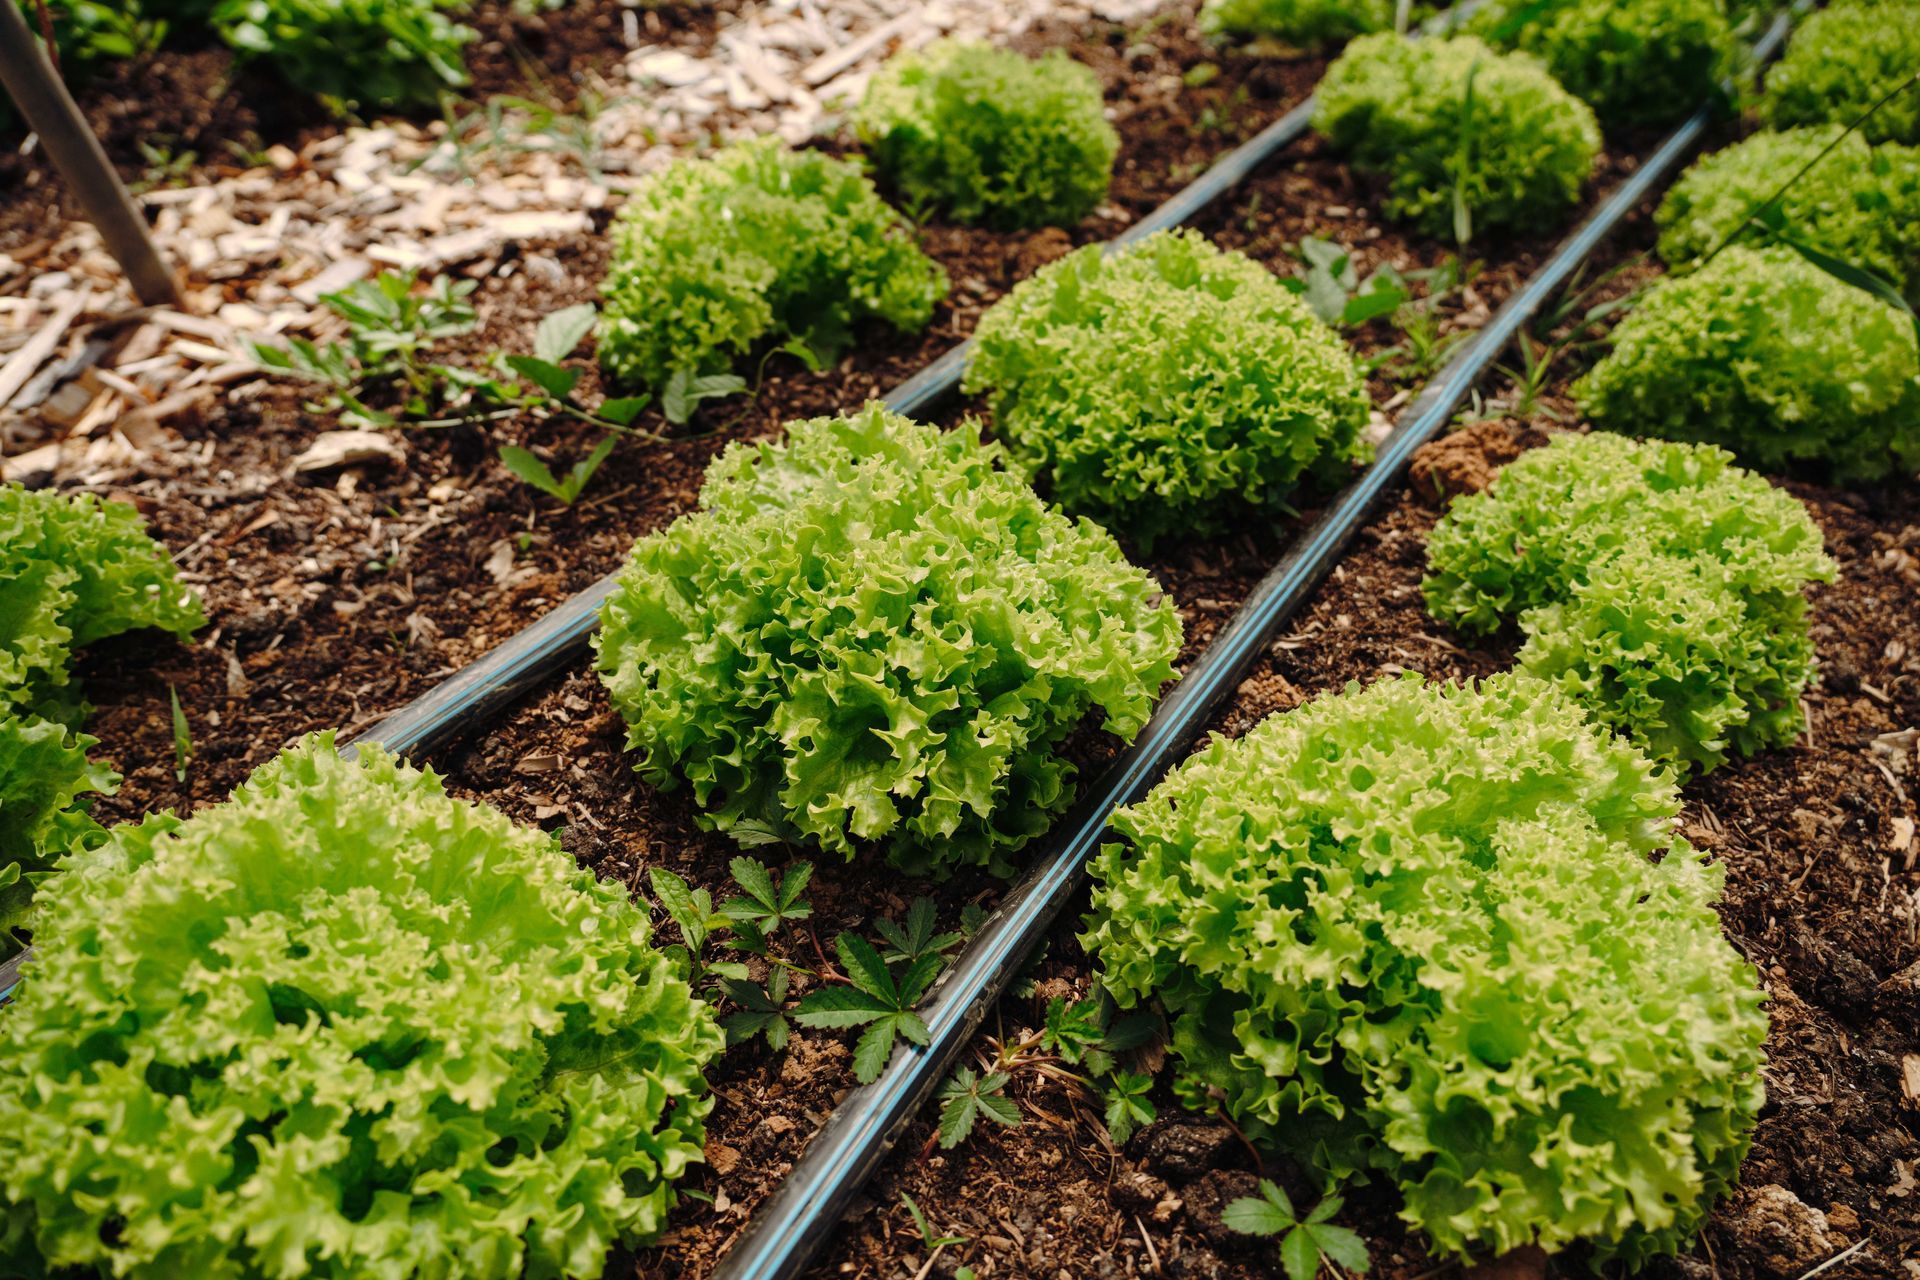
Connecting Dripline or Drip Tape
If you don't know the difference between drip tape vs drip line, then be sure to check out our extensive guide on it. But here, you'll have to decide whether to use drip line or tape. Defer to the diagram you created before, and go from there.
Drip Tape
We usually talk about drip lines, so let's pretend we are hooking up tape. Punch the number of holes you need into the header row.
Put the proper barbed adapter into the hole. Use one that has the ability to shut off the water so you can turn it off later if you need.
Cut the amount of tubing you need to get to the end of the bed, being careful not to cut over your emitters. Leave a good amount of space after an emitter, too, to get the right seal. Cap off the end of the tape with an end cap.
Dripline
To connect the dripline on the other side of the T, repeat almost all the same steps up to the garden bed. Run the mainline tubing to the bed, elbow it up onto the header row, and secure the tubing to the head of the bed with a clamp. Make sure to close off the row with an end cap.
Now, you would use a 1/4" hole punch to make a hole into the tubing big enough to fit a 1/4" hose barb tubing adapter. The difference here that you need to attach one of your zero-pressure button drippers to the end of the line.
Secure it about the soil with a stabilizer stake. Repeat the same process for any more driplines you run into the bed. You can also T off some of your lines to get two drippers from the same initial line.
Flushing The System
Here comes everyone's favorite part: turning on the system. You may have to fill your 50 gallon bucket with some hose water to do this because we are going to assume you didn't set this system up while it was pouring.
Once the barrel is full, you can turn on the system with your timer. From there, walk the system down to make sure there are no leaks, that end caps are secure and, above all, that your emitters are working.
Sweet New Earth's Final Say on Drip Irrigation With A Rain Barrel
That was easy enough! Hooking up a gravity drip irrigation system is no different from other irrigation systems. The trickiest part might be elevating the 50-gallon drum high enough to get enough pressure into the system, and dealing with water pressure that is very low pressure. Of course, the next hardest part is harvesting rainwater.
But hey, at least you'll be saving on the water bill. That's what makes gravity irrigation systems a fun and simple solution to water your plants. It's one of the best drip irrigation systems for your gardens. Remember, rain barrel water is not considered potable so it isn't safe to drink. But you definitely use it out in the garden for all your gardening needs just make sure the water goes directly to the roots.
FAQs
Before you go...
Now that you know how to get rainwater into your garden, you are ready to check out some of the best drip irrigation systems to do so. Be sure to check out our guide on the best drip irrigation systems so you can make the right choice for your needs...
Related Articles:
- How To Install Drip Irrigation For Trees
- How To Install Drip Irrigation for Potted Plants
- How To Install Drip Irrigation for Raised Beds

Carl Anderson
Carl Anderson is an avid outdoorsman with a keen interest in writing about and reviewing tools. He has over 20 years of writing experience and the only time he isn't feverishly typing away at his computer is when he's outside in nature working on his projects. You can learn more about him here.
Join our community!
Join to receive guides, insights, and the latest gardening deals!